

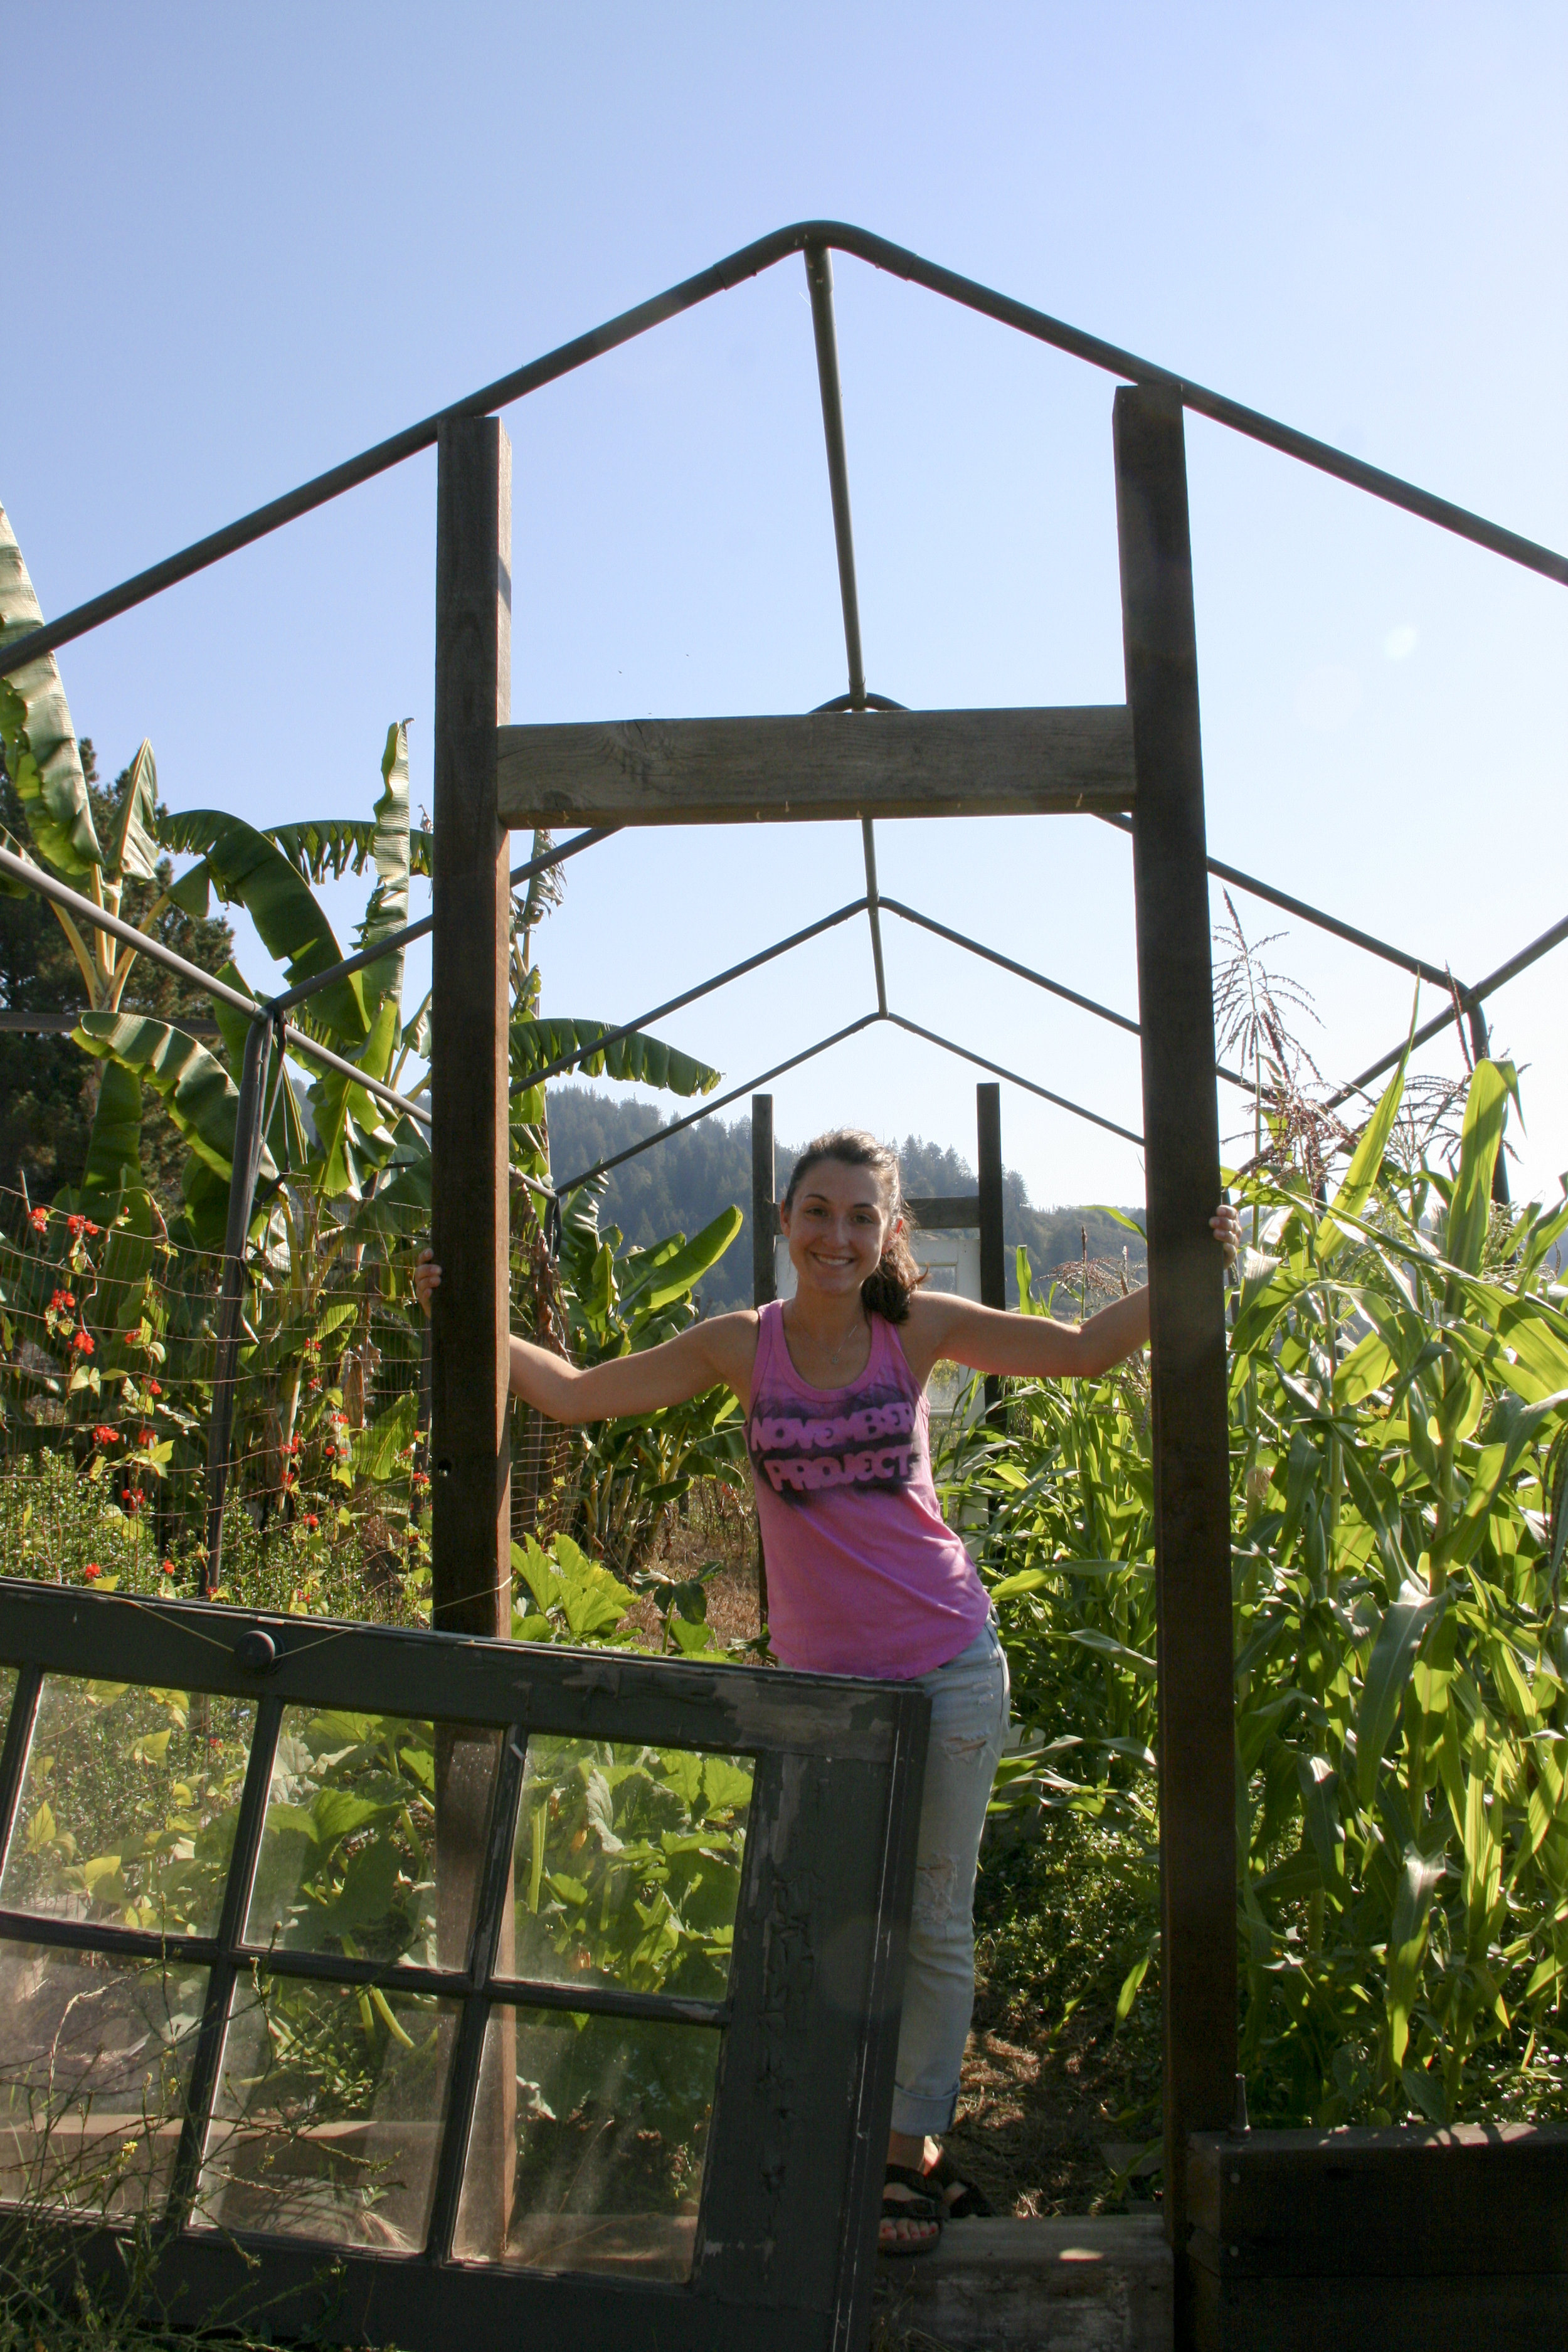
Good food is a labor of love. The fact that people get to live at eat the way I’ve been living and eating all the time made me feel pretty jealous at first. But one week in, I’m learning that this lifestyle takes work, and a lot of it.
First, there’s the planting. This weekend, we planted carrots! Not so fast…you don’t just plant carrots. First, you double dig the soil. Then, you have to smash up all the stubborn clumps of dirt, and man are they stubborn. Next, you sift out any wood chips. These suck the nitrogen out of the soil, which is no good for our carrots-to-be. In between all of that, you sprinkle granite dust over the bed. This potentially gimmicky trick is said to enrich the soil, since granite is said to have all sorts of nutrients and minerals in it. After all that’s said and done, you rake the bed, draw two double rows along the irrigation lines, and plant the seeds.

Then, there’s maintenance. The irrigation system feeds the plants, but some crops (like carrots) are greedy for water, so you’ve got to water those extra. Plus, the irrigation isn’t always up to snuff, so on some mornings, I look like I took a shower with my clothes on. In other words, I haven’t quite mastered how to plug the leaks.

Speaking of maintenance, weeds are the enemy. It’s incredible how much of my day goes to extracting those suckers.
I’ve got a Hit List all right, but unfortunately Bermuda Grass, Purslane, and Morning Glory are of the genus Zombius Weedalia. If anyone out there is a zombie-murdering expert with a green thumb, I’d very much like to hear from you. Also, who’s got splinter removal tips? I’ve lost count of mine at this point.

All of this pain and suffering (actually it’s pretty fun) comes to fruition when it’s time to harvest. There’s just nothing better than cashing in on all your hard work and enjoying it moments later.

I’ve plucked, picked, and clipped my way through the garden a handful of times. And in addition to harvesting what seemed like zillions of tomatoes, I’ve also picked kale, berries, oranges, figs, fennel seeds, and Jerusalem Artichoke. Jerusalem Artichoke is, by the way, neither an artichoke nor of Israeli descent.

While much of the garden’s bounty is good au naturale, my favorite part is transforming home grown organic ingredients into something even more special. Nourishing Meals is particularly informative, but Nancy’s cookbook shelf is filled with possibilities. With such good stuff though, it’s really hard to screw up.
But alas, I think I’d get tired of veggies if that was all I ate. Does that mean we eat store bought cheese and pre-sliced bread? Guess again. Nancy and Ken get their milk from a friend’s dairy. It comes in big ol’ mason jars, is non-pasteurized, and is way way creamier than I ever knew milk could be.
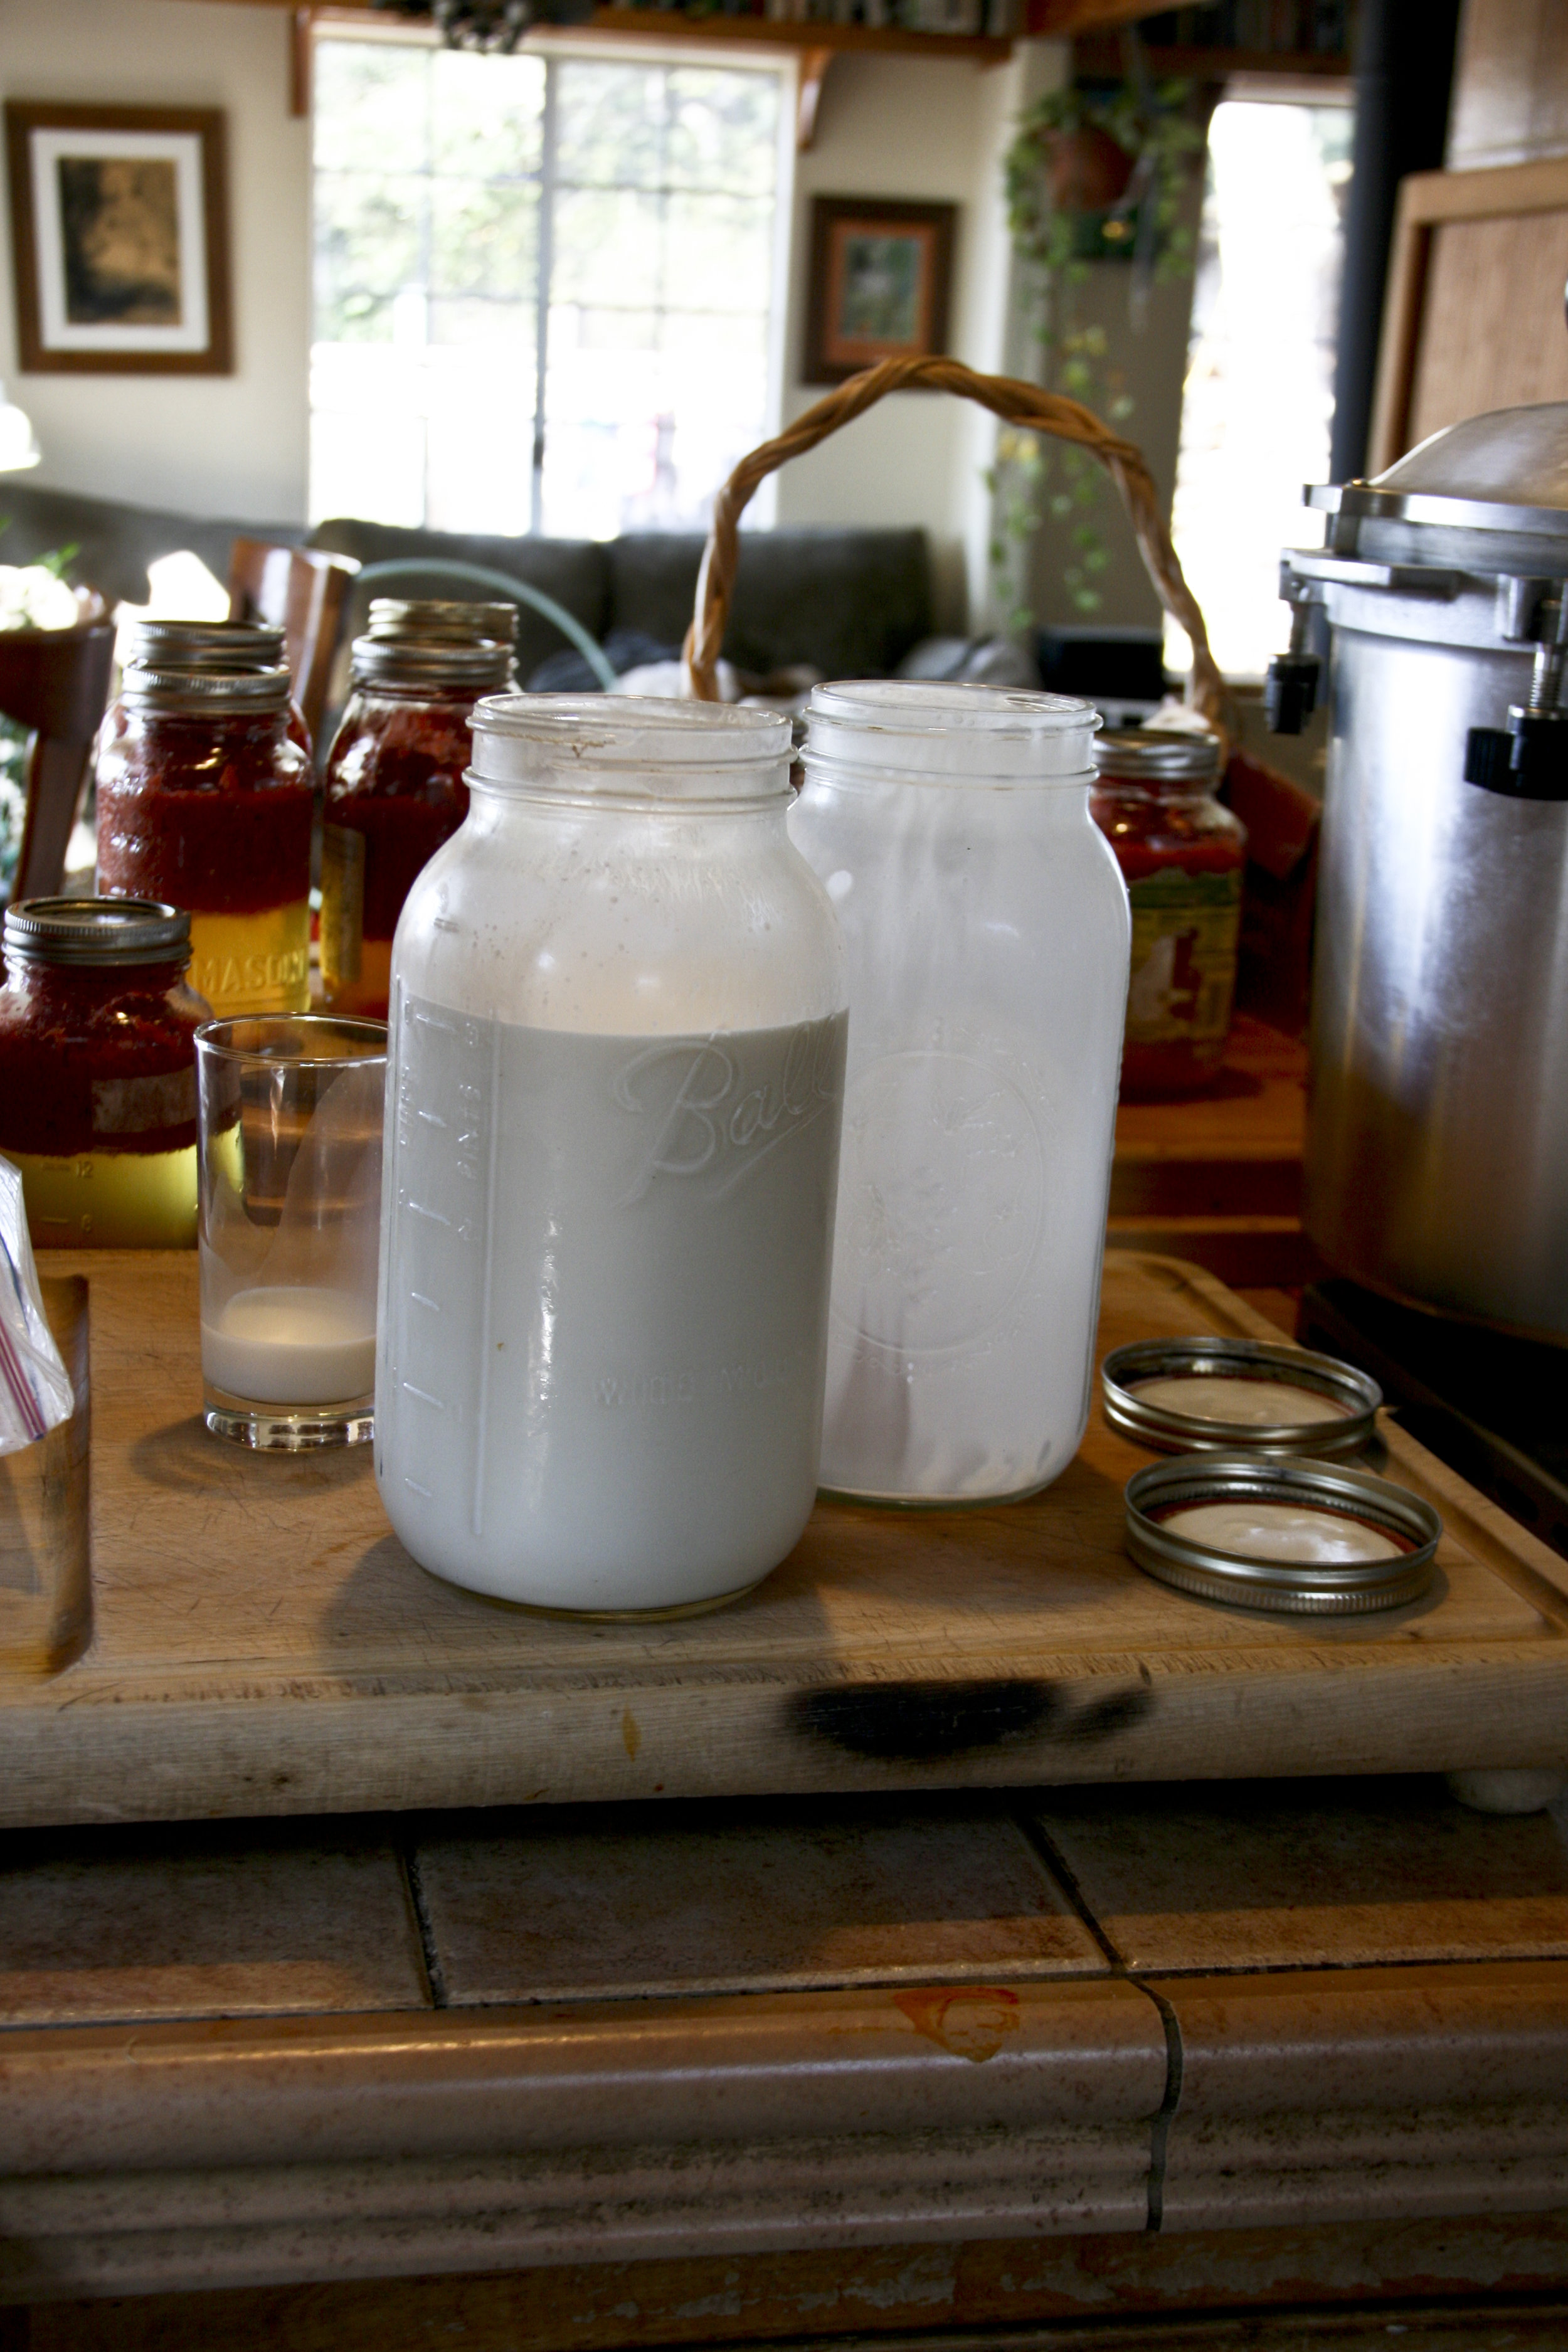
They use it to make yogurt and cheese. The bi-product of the cheese – whey – is used to bake bread!

Ken is a master bread baker, and taught Lucie and me how to grind our own whole wheat flour.

He says that buying bagged flour is bad news, since letting it sit causes the stuff to go rancid. I’m not sure about all that, but I do know that I’ve never had a better slice of wheat bread as long as I’ve walked this earth.

I’m fascinated by the way Ken and Nancy reduce, reuse, and recycle almost everything they own and eat. They’ve mastered the art of minimizing waste and using every last drop of every last drop.
The trick is simple: they care. They care about their impact on the planet and they care about their own wellbeing. It takes a lot more work than it would to just pop by the grocery store every Saturday, but the results are worth it. Working here is a balancing act with all these different tasks – planting, maintaining, weeding, harvesting, cooking – but it’s all invigorating make-your-heart-smile kinda work and I’m thrilled to be getting a taste.
Yogurt
Ingredients
Milk
Plain yogurt
Heat milk in a covered pot over medium heat until 180ºF.
Let cool to 110ºF.
Pour into small jars.
Add a dollop of yogurt into each jar. Seal the jars.
Place jars on a baking tray in the oven. Light a tea light candle underneath tray. Close oven and let rest for 8-ish hours. Refrigerate and enjoy!

Cream Cheese
Basically this recipe.
Side note – Lucie and I stopped by Mountain Feed in Ben Lomond on our way to Big Basin for a hike amongst the redwoods. We picked up mesophilic starter, which is needed to make cream cheese. Wherever you are in the world, stop what you’re doing and get your butt to Mountain Feed because it’s the most adorable farm/orchard supply store that you ever will see. Consider it an errand, since you’re obviously making cream cheese in the near future.


Onion Rolls
Ingredients
2 cups whole wheat flour
1/2 teaspoon salt
1 tablespoon gluten flour
1/2 ounce canola oil
1 ounce agave
2 eggs
Whey
1 teaspoon yeast
1/2 small onion
1 clove garlic
Special equipment: Bread machine
Fill bread tin with flour, salt, and gluten flour.
Pour canola oil, agave, and one egg into a medium sized measuring cup. Then fill up to the 13 ounce mark with whey.
Dump contents of measuring cup into bread tin and place in the bread machine.
Add yeast to the small compartment on the bread machine’s lid. Set to Whole Wheat dough and start. Come back in about 3.5 hours!
Preheat oven to 350ºF and butter a baking sheet.
Dice half of a small onion and finely chop a clove of garlic. Beat the remaining egg and stir in onions and garlic.
Separate dough into eight equal parts. Pat into thick disks, about 4 inches in diameter and place on the cookie sheet. Brush with egg wash, making sure to get enough onion on each roll. Bake for 20-30 minutes and then dig in!
